01
Before you start
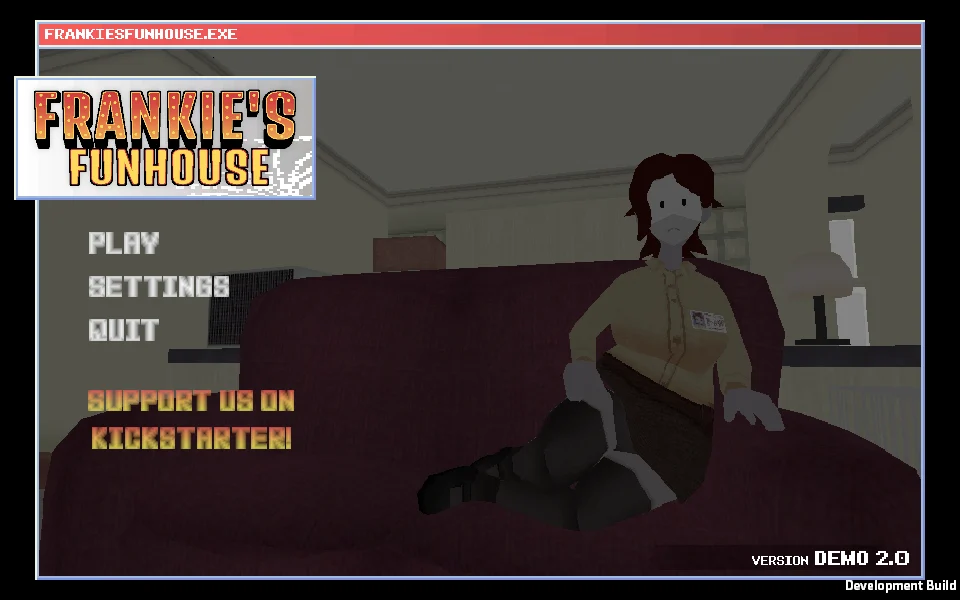
This walkthrough covers Frankie's Fun House: Chapter 1 Demo by StudioBigBun. It follows Demo V2 logic and contains full puzzle and ending spoilers. If you only need a nudge, read the opening sentence of the relevant step before revealing the item names in the rest of the paragraph.
 Enlarge screenshot ↗
02
Full route overview
The demo is a single forward route. Finish an area's objectives before moving on; you do not need to collect optional office details to unlock the next story beat.
| Area | Main objective | Key item or clue | Leads to |
|---|---|---|---|
| Office | Finish the document request and clock out | Printer paper and important document | Elevator |
| Elevator | Complete the movement and timing prompts | Copy-the-boss inputs | Apartment |
| Apartment | Eat, restore power, call for pizza, and answer the door | Door handle, phone receiver, 244-555-7437 | Prison cell |
| Prison cell | Find four random clues and set the colored dials | Cake, balloon, rod, dollar, blue and pink dials | Prize room |
| Ending | Collect the prize and leave | Final prize | Demo ending |
03
Prologue and tutorial
Choose the full or quick route
Select the new-game option and follow the opening conversation for the complete introduction. Returning players can use the available skip option to move directly toward the office without changing the later puzzle route.
Learn movement and inspection
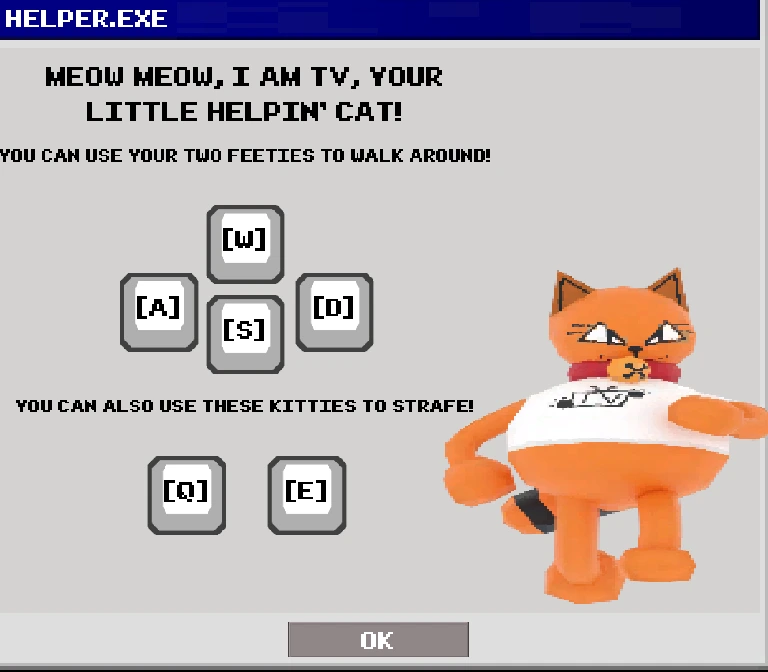
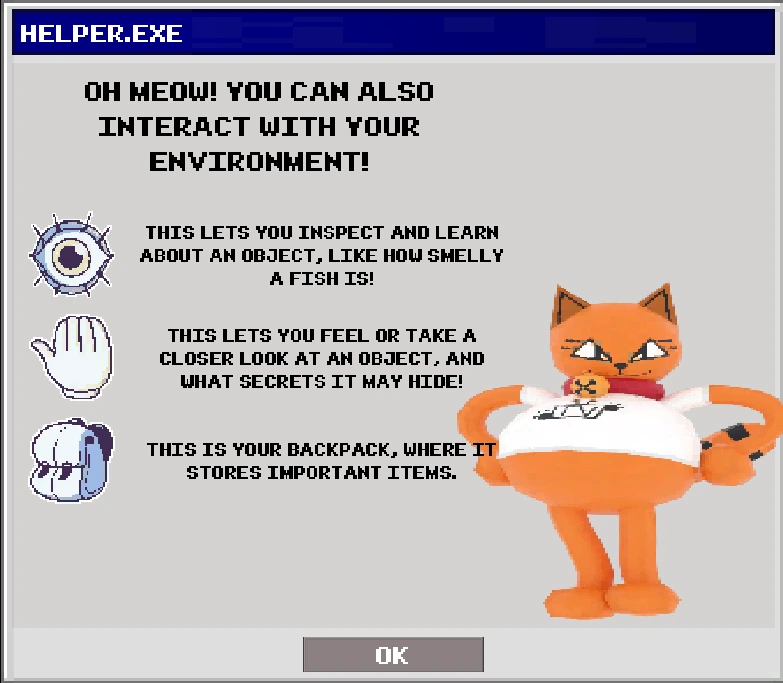
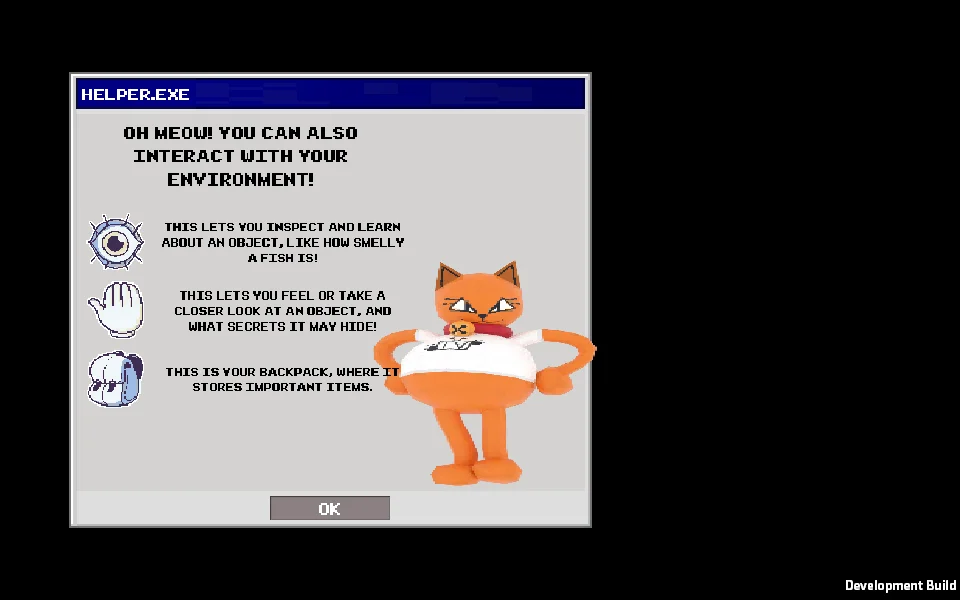
Use WASD to move and turn, Q and E to strafe, and the mouse actions shown by the game to inspect and grab. When an object enters close inspection, rotate it and look for a second hotspot before backing out.
Use the backpack deliberately
Picked-up puzzle objects move into the inventory. If the next hotspot does not react, make sure the intended item is selected rather than only stored.
 Enlarge screenshot ↗
 Enlarge screenshot ↗
 Enlarge screenshot ↗
04
Office walkthrough
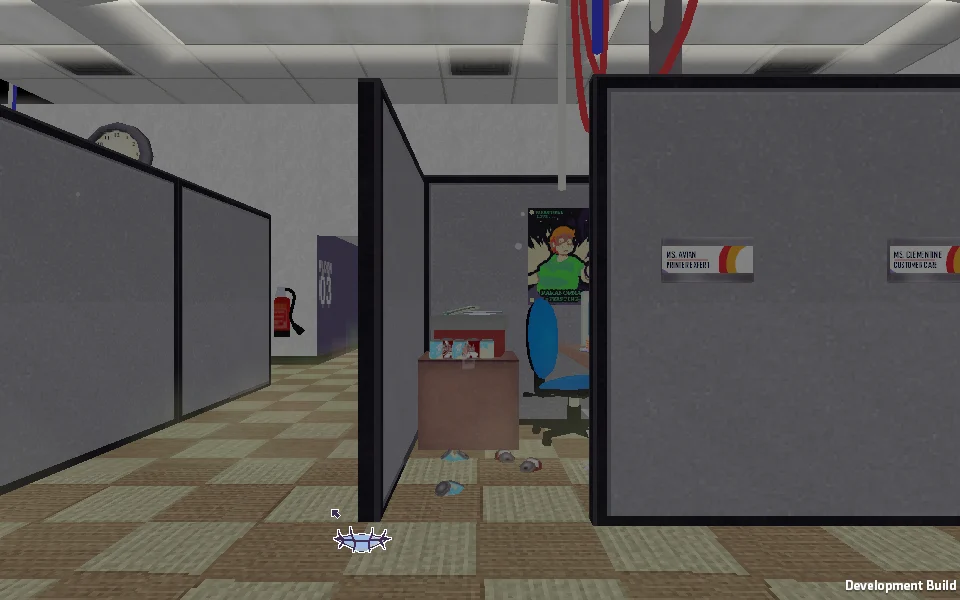
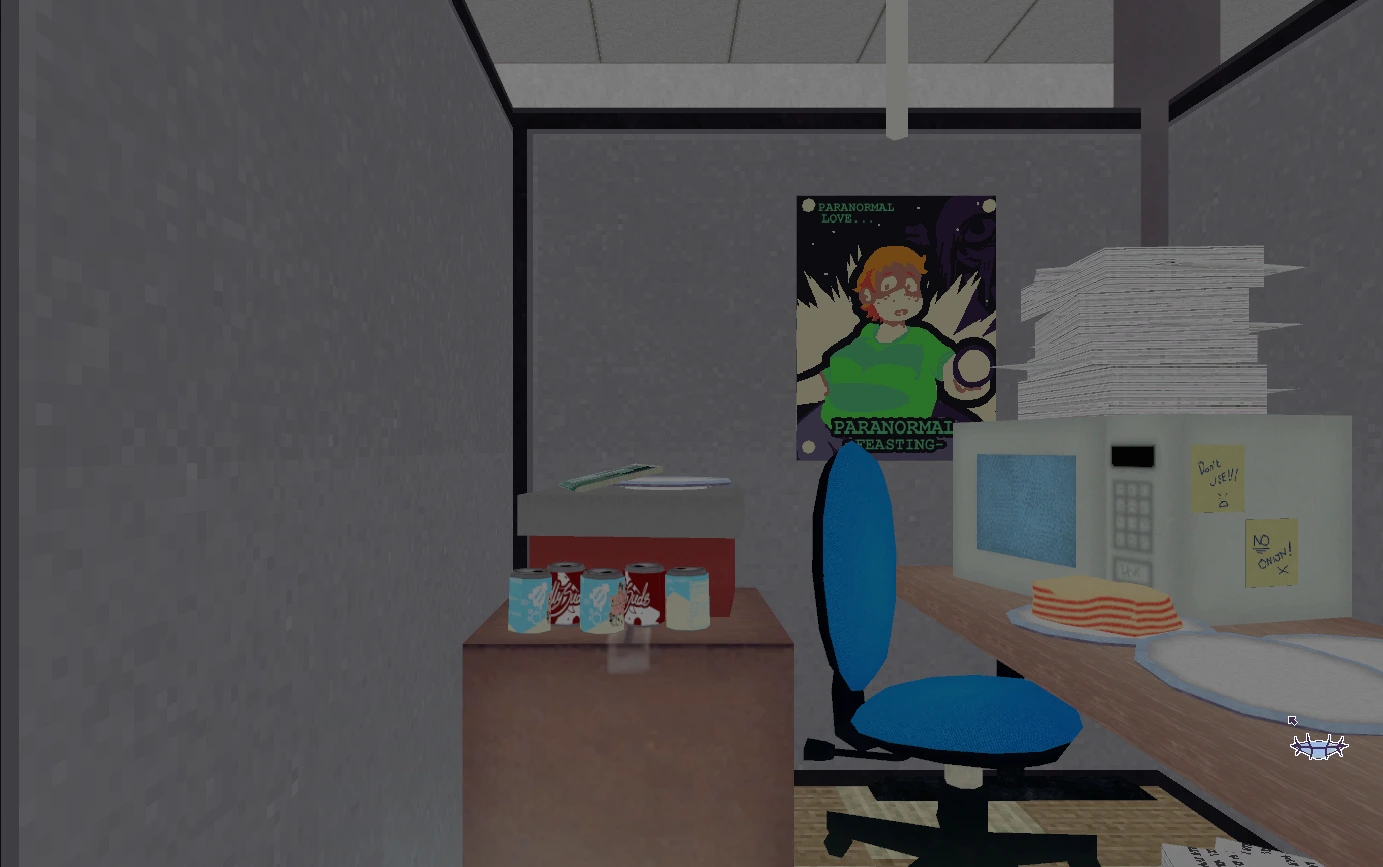
The office is the demo's interaction tutorial disguised as Ms. Happ's final workday. The current objective text is the safest guide: complete each errand in order and re-check the printer whenever the task changes.
 Enlarge screenshot ↗
Tell the boss you are clocking out
Leave Ms. Happ's desk, scan the cubicles, and speak to the boss. The conversation starts one final document request.
Get paper from the storage room
Follow the office hall to storage, collect the printer paper, return to the printer, and load it into the tray.
Confirm the print request
Use the nearby computer terminal and choose the print action. The job will not complete immediately; the next objective sends you to the break room.
Make and drink coffee
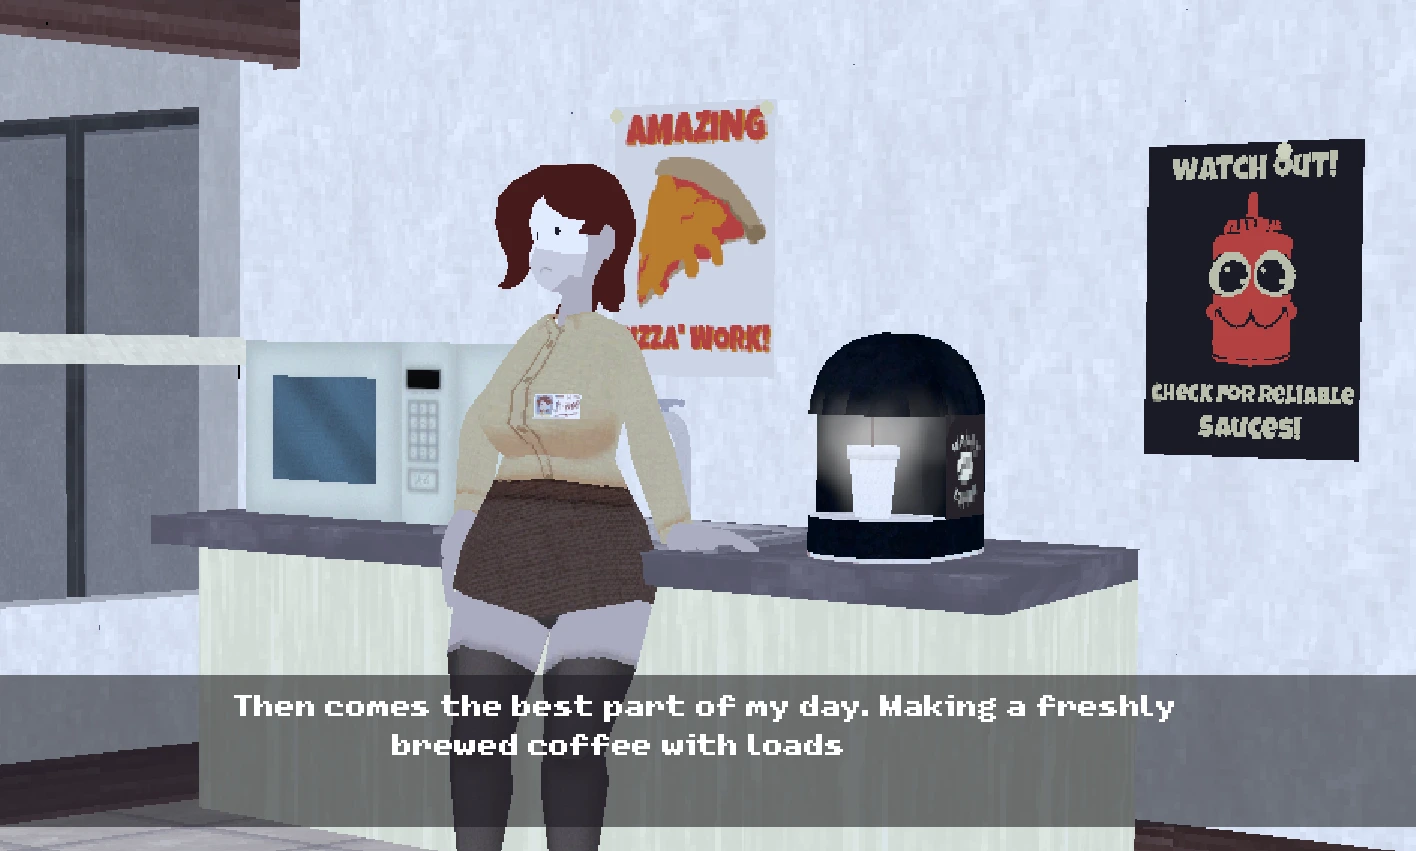
Enter the break room, interact with the coffee setup, prepare the drink, and have Ms. Happ finish it. Then return to the printer.
Clear the printer error
Check the printer, go back to the terminal when the error appears, and use the available repair or retry option. Return once more and take the printed IMPORTANT DOCUMENT.
Deliver the document and leave
Give the document to the boss. When the objective changes to “Go home,” follow the route out and enter the elevator.
 Enlarge screenshot ↗
 Enlarge screenshot ↗
05
Elevator sequence
The elevator is an input and timing break between the office and apartment. Watch the prompt rather than the background animation.
Follow each movement prompt
Click, tap, drag, or hold the direction requested by the interface. Wait for the progress indicator to register the action before switching inputs.
Copy the boss
During the matching section, reproduce the direction shown on screen. If a held input stops registering, release it completely and press again only after the next prompt appears.
Finish the sequence
Continue until the progress display completes. The next playable location is Ms. Happ's apartment.
06
Apartment and phone receiver puzzle
The apartment route has several linked dependencies: eating leads to a power problem, the fuse box provides the bedroom solution, and the bedroom contains the missing part needed to order pizza.
Find something to eat
Search the apartment for the cup noodles. Its spawn point can vary between new games, so check reachable counters, tables, and other obvious food or clutter spots instead of relying on one fixed screenshot.
Use the kitchen and restore power
Prepare the noodles with the kettle. When the power fails, locate the fuse box and interact with it to restore electricity.
Take the bedroom door handle
Inspect the fuse-box area carefully. Pick up the loose door handle, return to the bedroom door, select the handle from the backpack, and attach it to the missing fitting.
Find the phone receiver
Enter the bedroom and search the closet. The receiver is tucked among small boxes and hanging clothes, so move the view across the lower closet area until its interaction hotspot appears.
Call Big Top Pizza
Take the receiver to the home phone, attach or use it, then dial 244-555-7437. The formatted number is 244-555-7437, but the keypad accepts the digits in sequence without hyphens.
Take a bath and answer the door
After the pizza call completes, follow the bathroom objective. When the knocking begins, leave the bath and answer the apartment door to trigger the next story transition.
Open the focused Phone Receiver guide →
Continue to next chapterPrison cell door code→07
Prison cell door code
The prison lock uses four colored dials. Red and green begin on the mechanism; blue and pink must be found and installed. Each clue is generated for your current playthrough, so write the numbers down as you reveal them.
Count the red candles on the frosted cake.
Insert the dollar and read the spoken lucky number.
Use the pump and note the number revealed after it pops.
Use the recovered rod; the candy forms the pink number.
Record the red value
Inspect the cake and count only its red candles. This is the number for the red dial. Do not confuse it with the total number of decorations.
Recover the rod and reveal pink
Inspect the poster and its fasteners. The hint says the red pins are weakest: pull the weak red pins to expose the wall gap, then take the rod. Insert the rod into the cotton-candy machine, switch it on, and read the number formed by the finished candy. Turn the machine off afterward.
Pump the balloon for green
Find the loose balloon in the cell, connect it to the hand pump, and pump until it pops. The revealed number is the green value.
Eat the cake to uncover the blue dial
Remove the cake cover and keep eating until the hidden blue dial is exposed. Pick up the dial and retain the available cake piece. Replace or close what the room lets you restore before Frankie returns.
Trade the cake and inspect the card
On Frankie's next visit, give her the cake piece. She returns a birthday card. Inspect the card to obtain the dollar hidden with it.
Use the fortune teller for blue
Insert the dollar into the fortune-teller machine and activate it. Listen to the rhymed “lucky number”—that is the blue value. Completing this interaction also places the missing pink dial on the bed; collect it.
Install and set all four dials
Attach the blue and pink dials to their empty positions. Set the lock in Red → Blue → Green → Pink order using the four values from your run, then interact with the completed mechanism or door.
Solve each dial puzzle → · Prison lock troubleshooting →
Continue to next chapterPrize and demo ending→08
Prize and ending
Reveal the ending route
Leave the cell
Once all four dials are correct, open the prison door and follow the newly available route. The active objective changes from escaping the cell to collecting your prize.
Collect the prize
Approach and interact with the highlighted prize. Let the dialogue and animation finish before moving away.
Follow the final exit
When the objective says to leave, continue through the available path to reach the Chapter 1 Demo ending.
Route complete
You finished the Chapter 1 Demo.
Office → Elevator → Apartment → Prison Cell → EndingPlay another run09
Troubleshooting
The game ignores keyboard input
Click once inside the game frame so the embedded player has focus, then retry WASD. On mobile, use landscape orientation and the on-screen controls.
The apartment handle or receiver is missing
Re-check the fuse-box area and the bedroom closet from more than one angle. If no hotspot or model exists, reload the latest save; if the state persists, start a new run.
The prison code from a video does not work
This is expected. New games generate different values. Re-count your red candles and repeat the fortune, balloon, and cotton-candy clue interactions.
The dials are correct but the door stays shut
Verify the color mapping and order: red candles, blue fortune, green balloon, pink cotton candy. Install both missing dials and copy clue direction without mirroring.
10
Sources and verification
Instructions were checked against the locally preserved Chapter 1 Demo V2 objectives, scene data, and puzzle scripts. This is source verification, not a claim of a complete browser playthrough. New browser captures are labeled separately from the supplied reference images. Random clues must be read in your own save.
- StudioBigBun — official Chapter 1 Demo page ↗
- Official itch.io community and troubleshooting discussion ↗
- Gameplay visual reference ↗
Found a route difference or a version-specific bug? Send a correction and include the demo version plus the objective shown on screen.